

Fight for the freedom of Beleriand with the eldar and the elves or enslave them with Angband. |
| Welcome Guest ( Log In / Register ) |
 |
Quick Lists Top RatedTutorials Living World Map G Ultimate beginner' Arrow scaling bug Raising Heroes max Proper Fire Arrow Creating an asset. Simple Structure B Making a simple Ma Quick and easy sno Making patrols nea Mods The Dwarf Holds The Peloponnesian RJ - RotWK The Elven Alliance Helm's Deep Last H The Elven Alliance Special Extended E Kings of the West RC Mod The Wars of Arda Downloads BFME1 1.06 Widescr Enhanced W3D Impor Fudge's Map Pack LotR/BfME HD Logos Osgiliath Shellmap Crystals Of Ancien 2v1 Wold The forests of Dru Converted BFME2 an ROTWK animations f |
||||||||||||||||||||
 |
Register and log in to move these advertisements down Spline modelling a Sword
Hello all, I am here today to show you a little insight to one of my methods for scratch modelling weapons. In this case, Haldir's Sword. I was always displeased with the fact that he was always given EA's Elrond Sword, when his is very unique. So, I decided to make his. This is how it turned out in the end: 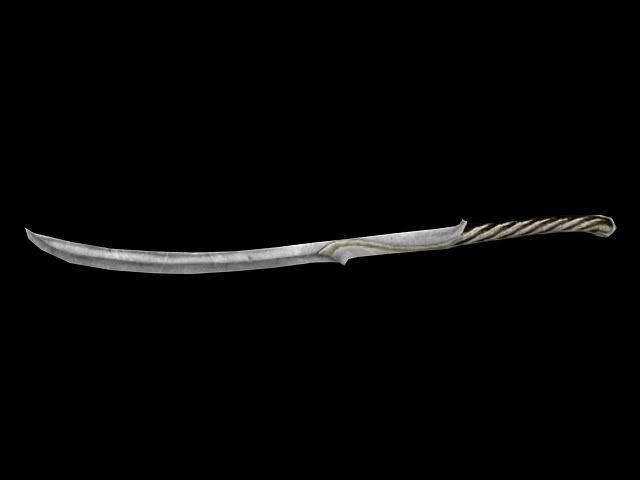 This tutorial, is actually more of a walkthrough. Extremely detailed, explaining virtually every step I go through. There are many images and steps in here that honestly don't deserve an image. But, there may be some people who will benefit from them, and possibly prevent others from getting lost. Regardless, here I go. When spline modelling weapons, (doesn't matter which weapon) it is essential that you have an accurate and detailed reference picture. This picture's dimensions must be equal, so that when they are applied to a cube (you'll see soon) the image is not stretched or warped. In my case, I just used the texture I had already made. This is done in Max, however should still be possible in RenX. There really aren't any complicated methods involved. As long as the Line tool is there, this is exactly the same process in RenX. Anyways, I suppose I'll start. With Max open, and a new document open, the first thing I will do is select the Top Right box, which is Front. 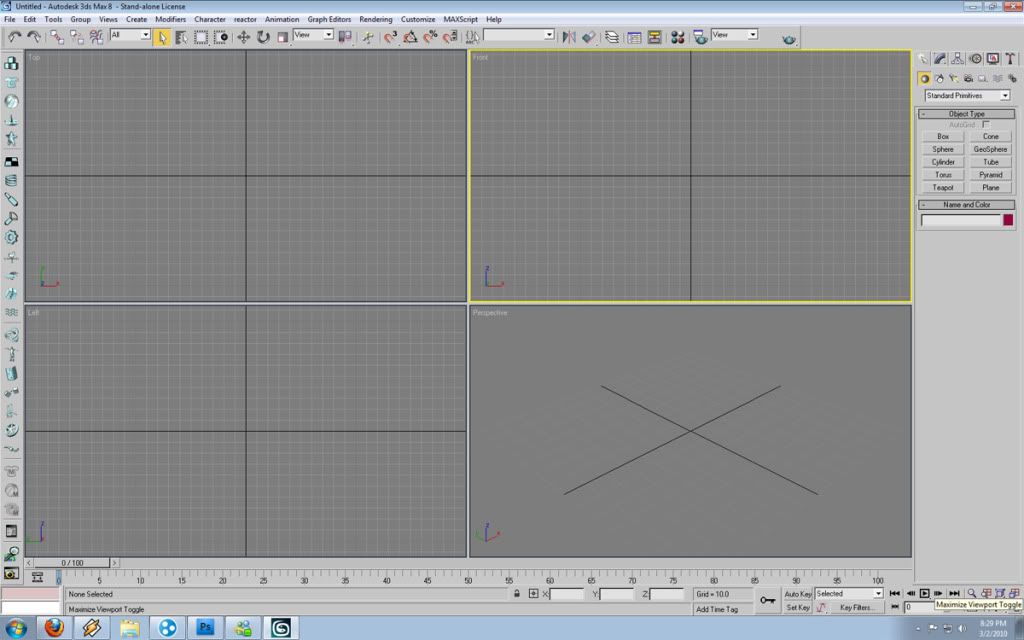 Now, I will make a cube (not a box). I do this because i need the dimensions to be exact, so that the texture is applied perfectly and not distorted. 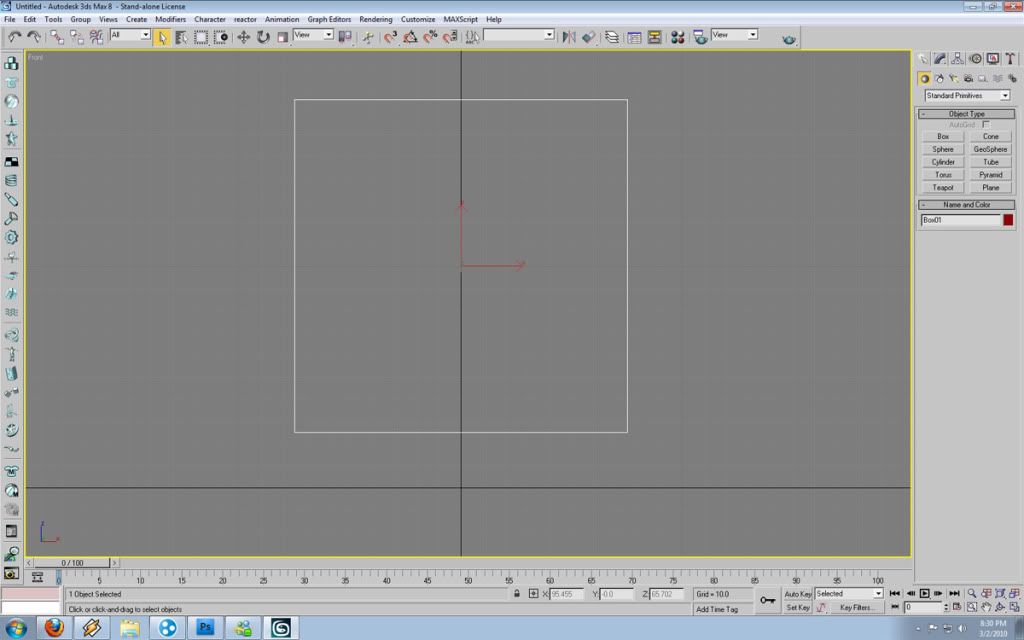 Now I change the view to Smooth + Highlights So I will be able to see the texture in this window. Do this by right clicking on the word "Front" up in the top left corner. 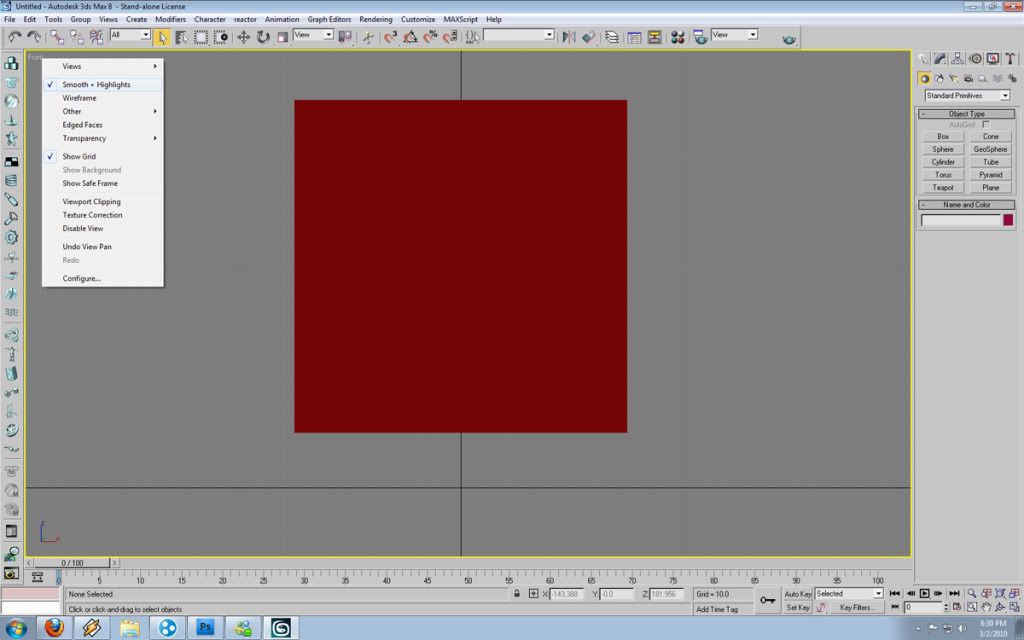 Now, I apply my texture to the cube. Since it is a perfect square, there is no need to do any modifying the UVWrapping. 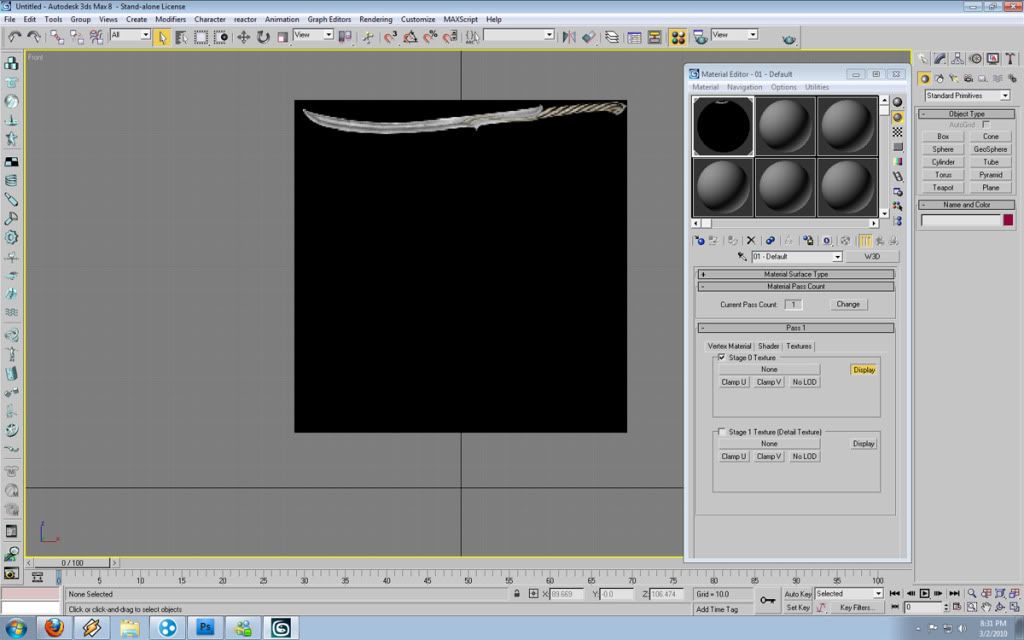 Now, I move the cube so that in the "Front" window I can see the grid over the texture. 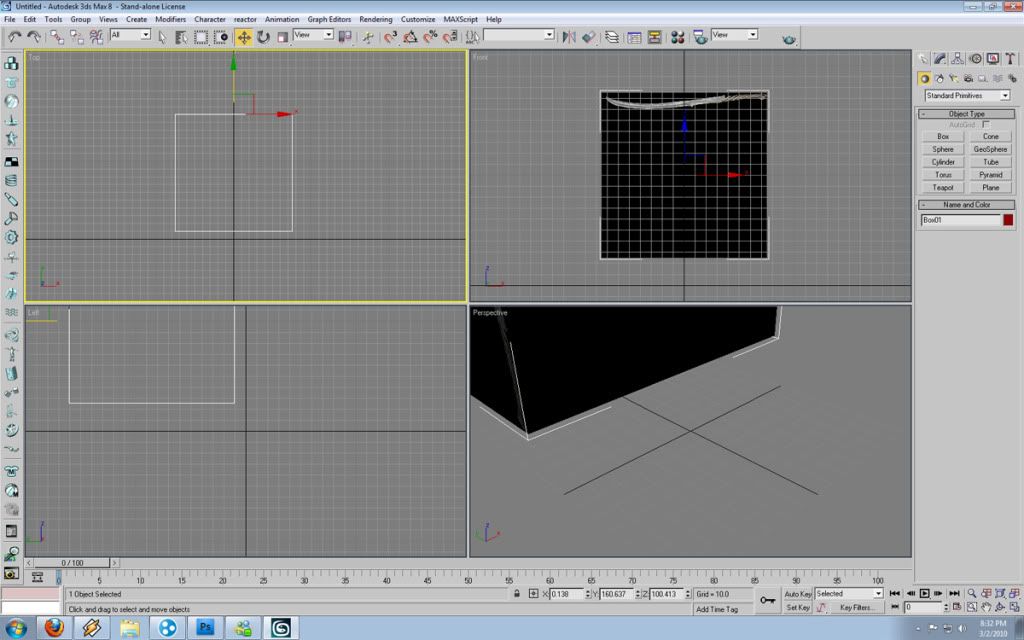 CommentsDisplay order: Newest first modboy451 - Friday January 28, 2011 - 14:22 THANKYOUTHANKYOUTHANKYOU!!!! Radspakr Wolfbane (Team Chamber Member) - Friday March 12, 2010 - 4:27 There we go I fixed your repetitiveness for you Kwen :p Kwen (Team Chamber Member) - Wednesday March 3, 2010 - 8:07 The problem with that, is because I'm showing a full window, if I make the pictures too small it will become hard to see what I clicked on. Radspakr Wolfbane (Team Chamber Member) - Wednesday March 3, 2010 - 2:43 Nice tutorial,I had forgotten about spline modelling it's been so long since I've done any actual modelling :p Kwen (Team Chamber Member) - Tuesday March 2, 2010 - 22:46 Please do. And if you see anything I may have been not very clear about, or mistakes, let me know. Rob38 (Team Chamber Member) - Tuesday March 2, 2010 - 21:50 Very intriguing. Never thought of this modeling method. Will have to try it out. :) |
 |
|||||||||||||||||||

"One site to rule them all, one site to find them, © All Rights Reserved Eric Edwards ©2013. |
|||||||||||||||||||||